• Home
  • About
  • Life Style
    • Adventures in Japan
    • Food
    • Otaku Related
    • Personal Life
    • Reviews
    • Events
  • Links
  • Contact
YouTube carrd twitter instagram

mika's online diary


It's been a while since I've done any DIY's but hooray for my first DIY this 2017! (I think lol) It's actually not 100% DIY, (but it can be if you want to) but this does save you money because this is something you can do more than once, what I'm basically getting at is, you can do your own Nail Art! (duh! lol) and what we're going to do is the popular nail trend in Japan which is Pressed Flower nails! (made from real flowers of course!)


(gawd the lighting is so awful ;A;) I did these nails and I'm actually real proud of it, lol I have really shaky hands so this was a bit of a challenge, but if you have steady hands, it will go smoothly!
I got this DIY inspo from one of my favorite youtubers: Taylor R 
(she has a lot of cute and interesting vlogs! check her out!)  

'll help you with some tips you can try that's not on her tutorial vlog~ *wink*

let's get started!


WHAT YOU'LL NEED:
 - Pressed/Dried Flowers
- Nail Cutter
- Nail Polish (color of your choice)
- Clear Nail Polish
- Scissors (optional)
-  Clipper
- Paper towel


WHERE TO GET THE FLOWERS -I ordered this set of pressed/dried flowers off of Amazon! You can also purchase them here!
But you can also just pick real flowers, make sure they're small (make sure don't just pick wherever btw, make sure you're allowed to pick if its not from your backyard or garden, ask permission!)
Once you've chosen your flowers, lay them out flat in the middle or end part of a thick, heavy magazine, leave them for a few days to make sure they're dry before you put them on your nails!

STEP 1: Choose your flowers


I went for a random look, diverse, no color coding, so any color of flower did a great job for me, I didn't stick to a them for a spontaneous look, but of course feel free to do whatever you like!

STEP 2: Cut them up real nice and small and lay the Paper towel


 This is where you make sure that the pieces are small, fit the style you want, and of course fits your nails! Lay the paper towel because they're gonna be easier to grab using the clipper or your fingers, whichever works best for your of course, you can also opt to use scissors to cut the stems out, but I just used my fingers to do it, I'll be sharing an important tip later on to carefully remove the stems and for me, it was easier!

STEP 3: Paint your nails


This would actually be STEP ONE if you chose to use a colored nail polish as your base/background for the flowers, but in my case, I just used a clear polish (since I'm no good  at applying colored polish). I just added pink tint using cuticle remover and coated my nails with a clear polish! they're going to be your glue!

STEP 4: Create the pattern/Stick the flowers


While the clear polish is still wet, I added the flowers to my desired style one by one using the clipper! after having them stick to the nail, coat another layer of clear polish to lock the flowers in or at least coat until you feel comfortable that they're secured.

TIP: Use the nail cutter to cut the stems once they're on your nails!


In this photo, you can see that I made like a flower crown style, but still had the stems popping out, so what you do, is you take a nail cutter, cut them carefully like you're cutting your nails, but make sure you don't get your real nails if you want them longer for this nail art look.


And voila!


here's what my hand looked like! (left and right)\

I didn't really follow any patter at all! I just loved the flower crown look on my nails, so mostly I did used that style more than once, but it's up to your how you want to showcase your nails with this lovely style!

And that's it for this DIY/Tutorial! 

It's simple and pretty self explanatory but I hope you enjoyed it!

Thank you for reading!
Share
Tweet
Pin
Share
3 comments

Runner's Kitchen is a really good option if you want to try healthy eating but still get the taste value and amount you usually eat! They have a lot of options to choose from and the ambiance is really nice! To be honest, it is a little pricey than what I expected, I ate with my mom, and we ordered a total of 4 dishes, and 2 drinks, it totaled to 1800 php, almost 2000 php! I wasn't able to take a photo of what my mom ate, but it's actually all worth it! If you're willing to splurge and eat healthy/organic options with large portions, then this is the place for you!


The place looks real cozy and inviting, kind of like a family dining area~ 

What I ordered:


Spicy Tuna Quinoa Roll; low carb roll that has raw tuna, cucumber, mango, sriracha aioli, coconut cream, and ginger soy reduction. (295 php)

This tasted really good! I love sushi and this being healthy, just made things better! I had this for my appetizer, but for my main course, 


Paprika Prawns with Quinoa; Pan seared prawns, red radish, crispy basil and spinach with sun-dried tomato yogurt. (410 php) 

This was heaven! The prawns were delish af, and the quinoa sauce was amazing! 

Overall, I really recommend trying out Runner's Kitchen for those healthy eating moments you want to have! The menu had a lot of variety and my mom also ordered really good food as well!

They also have home delivery! 

They're located at: Ground Floor, Creekside Square, Tomas Morato Avenue, Kamuning, Quezon City


Share
Tweet
Pin
Share
1 comments

Last May 1-2, I went to the beach with my boyfriend for the first time lol can you believe it? our first out of town trip together, and we've been together for 3 years and 3 months and we haven't gone out of town together? And this was because it was his team building with his officemates lol I just tagged along~ Anyway, we went to Morong Bataan! It was my first time in bataan and it was a loooong drive, like seriously lol The sea was beautiful tho so I'm really glad I came!


Day 1 was pretty chill, we left at around 7:30 AM and we arrived a little past lunch, since the "chefs" needed to prepare lunch, and Mike and I are no chef lol we decided to walk around the beach and take pictures! It was glistening hot! but the water did sparkle~ it's been so long since I last went to the beach, I forgot the feeling of sand in my feet already lol


There were other people so it was hard to take pictures without having them in the shot =.= I was still getting used to the feeling of water and sand mixing lol not really something pleasant at first but I got used to it lol we literally just took a lot of pics, but it was extremely hard since the sun was so bright I couldnt see the photo I or Mike was taking lol


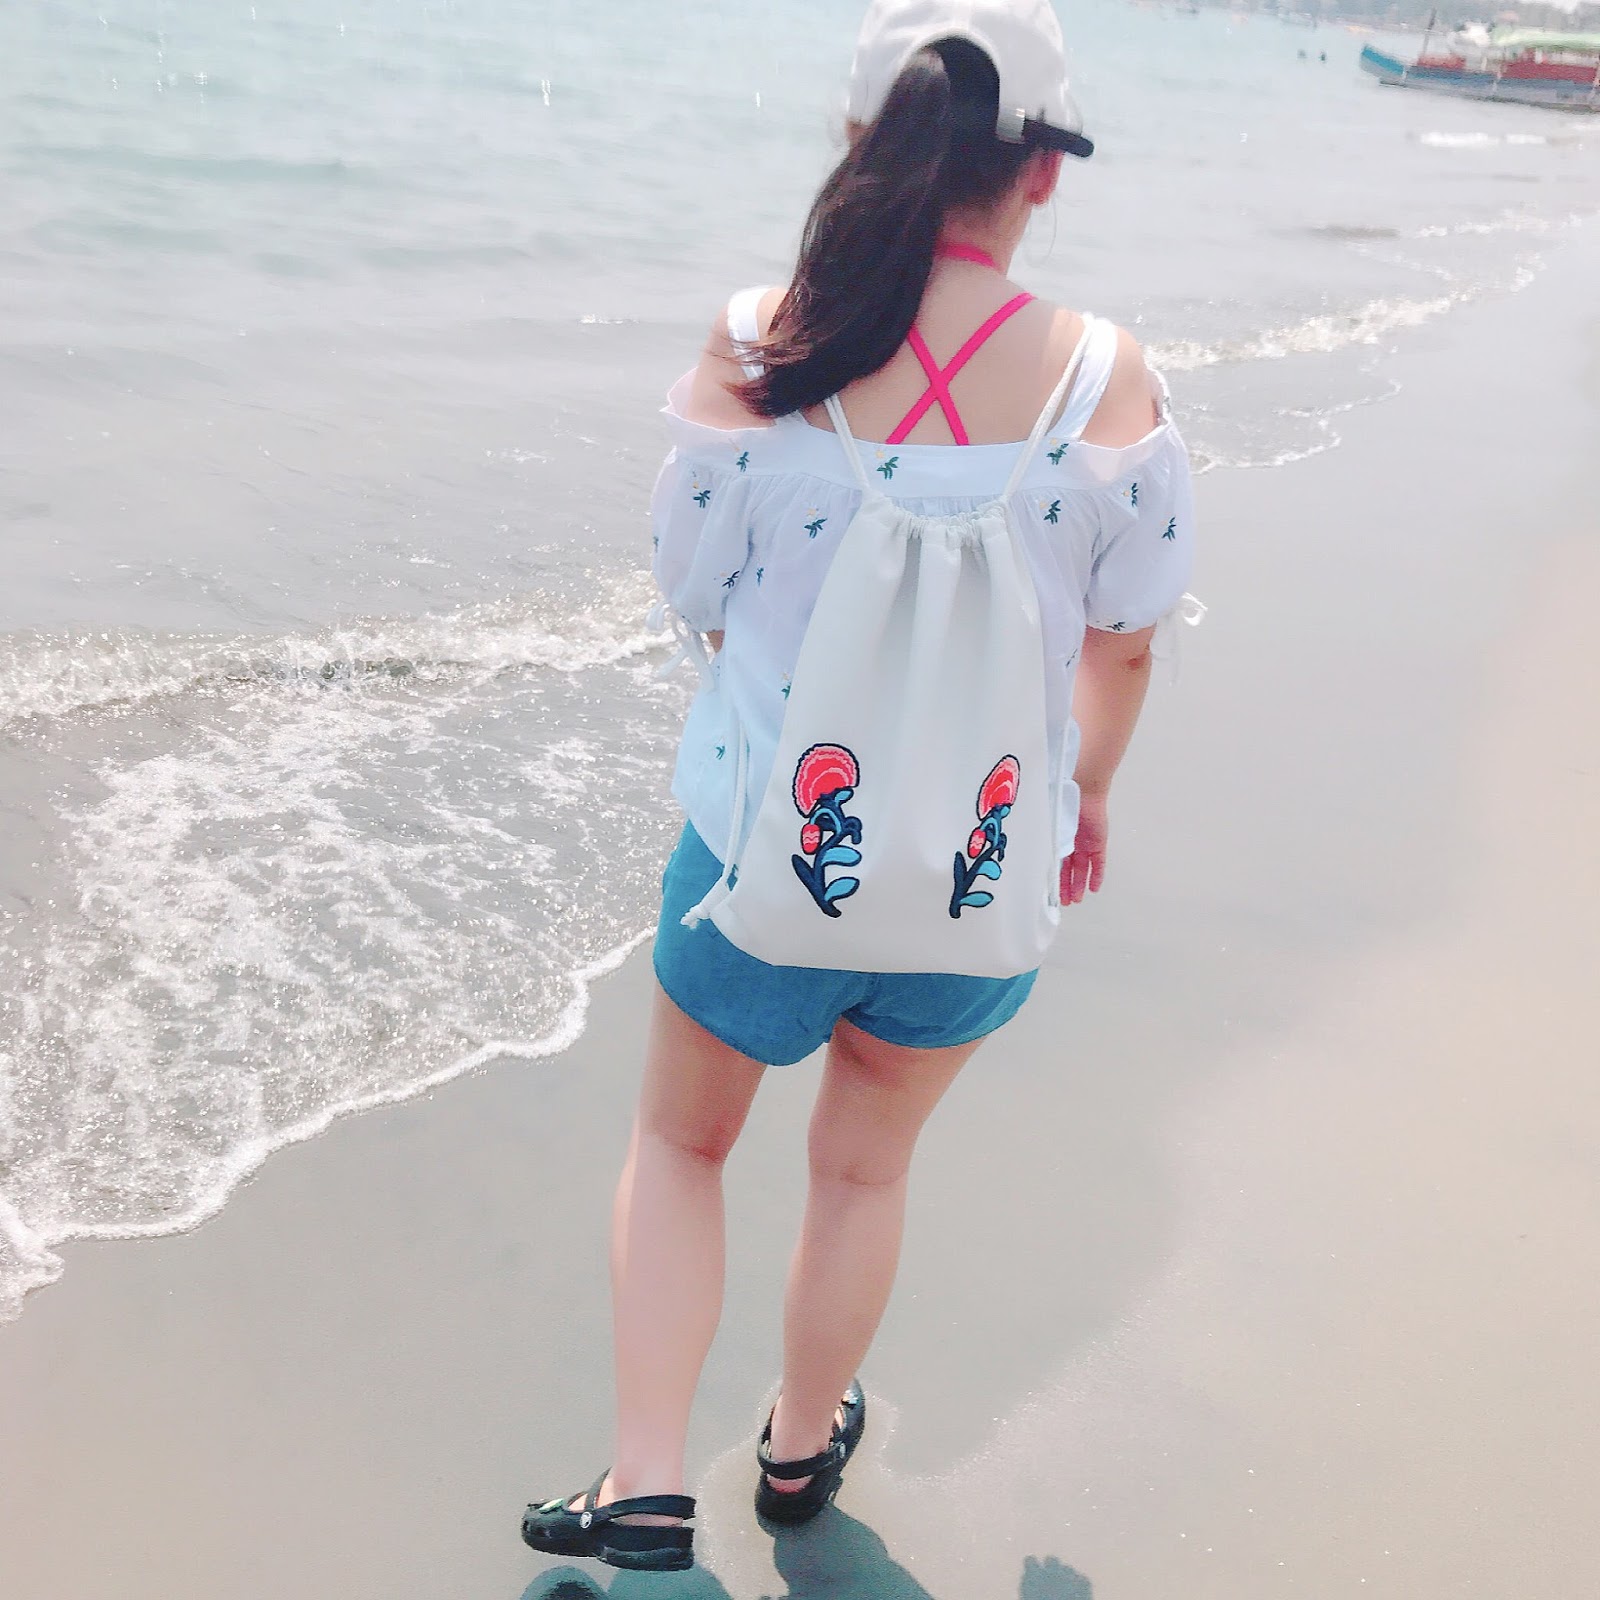
We were both wearing crocs because it easy to wear, can get wet, and you just need to wipe it to dry it off! Mike rocking his tank top lol and the sea was so pretty!


I wanted a dramatic shot of me walking along the shore, but me being my awkward self... made the photo look like there's a walking zombie lol


Somebody's happy lol He got a lot of seaweed, if that's what it was lol


In the afternoon, we decided to swim and apparently, buried his friend in the sand lol that's pretty much what we did the first day, played cards, ate snacks, hanging out at the beach, and swam a little bit~

Dinner was extremely good! it was my first time eating from a banana leaf! I forgot what they call it lol


But we lined it up and ate by hand! ahhh the feeling ~

We also decided to set up a tent, campfire, and made and ate smores!


Someone else made this bonfire, BUT! I made this:


I made this fire from scratch! Now I have one of the essential basic surviving skills, starting fire! lol

Day 2 was pretty simple, since most of them including Mike, woke up late lol But I'm a morning person so I wake up early, I helped prepare breakfast, took a litte walk, and changed into my swimwear, and some of us, decided to try the banana boat! which was the main attraction in this trip lol


Making sure our lifevest was properly closed lol


This was my first time riding a Banana boat as well! We were having so much fun!! then suddenly, the boat tipped and we all fell lol but we think it was on purpose lol because they asked some of us for our phones after a few min of riding, my phone was with me sealed in a waterproof case, but i haven't tested that out lol, but after the fall, it was proven and tested, the case was waterproof! haha!

Overall that was my favorite part of the trip!

I hope mike and I can go to more place together! when we're not too busy lol
Share
Tweet
Pin
Share
1 comments

For my birthday, my boyfriend and decided to try and eat at Dohtonbori in UP Town Center! (Yes this is an old post lol gosh my pending posts are piling up). Interior wise, it looks amazing, the ambiance of being in Japan is there, and the authenticity was really on point! Unexpectedly, it was actually really affordable, and you get your moneys worth the amount and quality of the food you get!

Starting with Interior;


I bet from these images you're thinking of the song... "tenenenenenten ten ten teeeen" (that's a chinese song lol or at least bgm) but yes, you can feel the ambiance of pub in japan where you see office workers drink their hearts out with neckties on their forehead, private parts of the resto, and that cooker in the middle of the table lol what do you even call that? 


Even the exterior looks amazing!

Moving on to the food! We ordered Cheesy Pork Monjayaki I think is what it's called, Katsudon, OmuYakisoba, and a side of rice bowl with Miso soup!

The Katsudon was about almost 300php it comes with rice of course! However, the Monjayaki and the OmuYakisoba would need to be prepared in front of you, hence, the "cooker".


Katsudon was pretty big! Mike wasn't able to finish it! I ordered rice and miso soup for me on the side (I forgot how much it was tho lol)

NOW... onto the cooking part! They cooked the omuyakisoba first! and by the name of the dish, I'm guessing you already know what it is lol It's yakisoba enveloped in egg like omurice lol


This is good for two, and after eating this, Mike was already half full, like this was already enough as a meal. besides the fact that it's actually so dayum good! It's only 290php (or at least somewhere in that range)

The last thing they cooked was the Cheesy Pork Monjayaki cause it takes the longest time!


This is alsssssoooo really good! I think it was also between 260-300 php, if you're not a large eater, this can be good for 4 people, but if you eat a lot, I guess this can be good for 2 as well! 

You also have the liberty to put as much toppings or flavoring you want lol


So I put a bunch of Bonito flakes and Ao nori! lol


This was our view lol

Overall, the experience was great, food was amazing, my wallet was still alive after the man vs food fiasco, and I HIGHLY recommend this place for Japanese food loving people!!~

Food and chef critic, Micaela, ending this post..


Byebee!
Share
Tweet
Pin
Share
2 comments
Newer Posts
Older Posts

About me


Iff62X.png

31 | MNL ~ JPN | 日本語 Translator | Fujoshi | Otaku | Pokemon Master | Dog mama |

Find Me

  • carrd
  • twitter
  • youtube

Blog Archive

  • ►  2020 (4)
    • ►  March (4)
  • ►  2019 (13)
    • ►  July (4)
    • ►  April (6)
    • ►  March (2)
    • ►  January (1)
  • ►  2018 (2)
    • ►  February (2)
  • ▼  2017 (24)
    • ►  November (1)
    • ►  September (1)
    • ►  July (2)
    • ►  June (1)
    • ▼  May (5)
      • DIY: Pressed Flower Nail Art
      • Runner's Kitchen
      • Morong Bataan
      • DOHTONBORI! Pon poko pooon!~
      • 25th Birthday!
    • ►  April (3)
    • ►  March (5)
    • ►  February (1)
    • ►  January (5)
  • ►  2016 (44)
    • ►  December (2)
    • ►  November (2)
    • ►  October (5)
    • ►  September (3)
    • ►  August (2)
    • ►  July (4)
    • ►  June (4)
    • ►  May (2)
    • ►  April (4)
    • ►  March (3)
    • ►  February (6)
    • ►  January (7)
  • ►  2015 (74)
    • ►  December (5)
    • ►  November (4)
    • ►  October (5)
    • ►  September (2)
    • ►  August (3)
    • ►  July (11)
    • ►  June (7)
    • ►  May (4)
    • ►  April (7)
    • ►  March (6)
    • ►  February (10)
    • ►  January (10)
  • ►  2014 (19)
    • ►  December (6)
    • ►  November (7)
    • ►  October (6)

♡Blog Views♡

♡顧客さん♡

Flag Counter

2020 © m a r o t e s q u e by Micaela

Created with by ThemeXpose